How to Fix Cabinet Water Damage A Step by Step Guide
That sinking feeling you get when you open a cabinet and find a puddle of water or warped wood is something no homeowner wants to experience. Whether it's under the kitchen sink, in the bathroom vanity, or a laundry room cabinet, water damage is a serious issue that needs immediate attention. If left unchecked, a small leak can lead to widespread rot, dangerous mold growth, and costly structural repairs.
The good news is that you’ve found the problem, and in many cases, you can handle the repair yourself with a little guidance. Think of me as your expert on the line, ready to walk you through diagnosing the problem, stopping the source, and restoring your cabinets to their former glory.
This guide will break down everything you need to know about how to fix cabinet water damage, from the initial inspection to the final coat of paint.
First Things First: How to Spot Cabinet Water Damage
Before you can fix the problem, you need to be sure of what you're dealing with. Water damage isn't always as obvious as a puddle. It can be sneaky, hiding behind cleaning supplies or inside the cabinet walls. Here are the key signs to look for:
- Water Stains or Discoloration: Dark spots, rings, or streaks on the wood are a classic sign that water has been there.
- Swollen or Warped Wood: Materials like particleboard and MDF (common in cabinets) act like sponges. When they absorb water, they swell, warp, and lose their shape.
- A Musty Smell: That persistent damp, earthy odor you can't seem to air out? That’s often the first sign of hidden moisture and potential mold or mildew growth.
- Visible Mold or Mildew: You might see fuzzy spots that are black, green, or white. Mold is not just unsightly; it can be a health hazard.
- Soft Spots or Peeling Finish: If you press on the cabinet floor or walls and they feel spongy or soft, the wood's integrity has been compromised. You might also notice the laminate or veneer finish bubbling or peeling away.
If you've noticed any of these symptoms, it's time to roll up your sleeves and get to work.
Your Step-by-Step Guide to Repairing Water Damaged Cabinets
We'll tackle this problem in a logical order: first, we'll make the area safe and stop the leak. Then, we'll clean up and assess the extent of the damage before moving on to the repair itself.
Step 1: Initial Inspection and Safety
Before you do anything else, you need to assess the situation safely.
- Protect Yourself: Put on a pair of rubber gloves. You don’t know what kind of bacteria might be in the standing water, and this also protects you from cleaning chemicals later.
- Stop the Water (If Possible): If you can easily see and reach the water supply valves under the sink, turn them clockwise to shut off the water. This will prevent the problem from getting worse while you work.
- Inspect Thoroughly: Grab a flashlight and clear everything out of the cabinet. Examine every surface—the bottom, walls, shelves, and the area around pipes. Look for active drips, moisture, and all the signs of damage we listed above.
- Trust Your Nose: Don't forget to smell for that tell-tale musty odor, which points directly to mold or mildew.
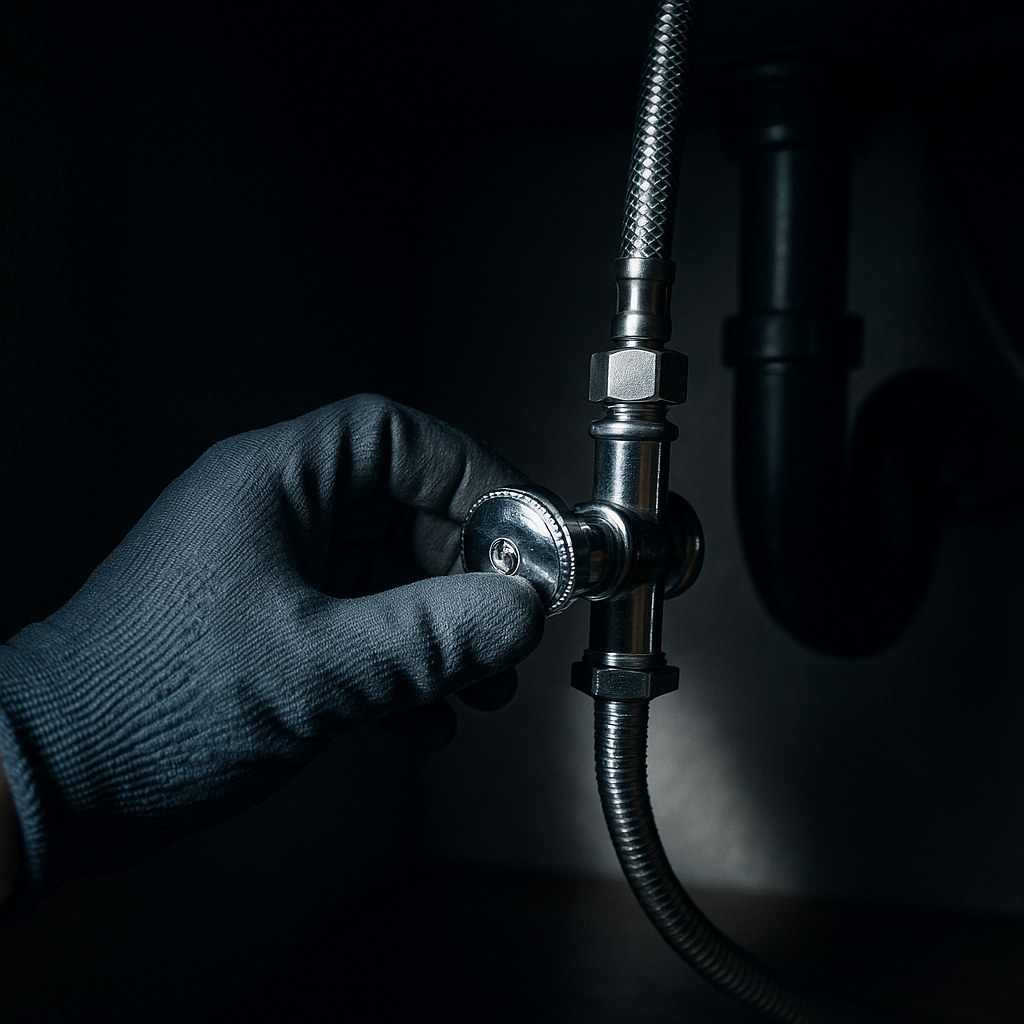
Step 2: Find and Stop the Active Leak
No repair will last if water is still getting in. Your top priority is to find the source of the moisture and stop it. Common culprits include:
- A leaking P-trap (the U-shaped pipe under the sink)
- Loose water supply line connections
- A failing faucet or garbage disposal seal
- A cracked sink basin
- Caulking failure around the sink or countertop
Once you've located the source, turn off the water supply valve for that fixture. Place a bucket under any remaining drips to catch them. Use old towels to soak up all standing water inside and around the cabinet. Getting the area completely dry is the critical first step for any repair.
Step 3: Safely Clean and Treat Mold
If you discovered mold or mildew, you must address it before proceeding. Mold can cause respiratory issues and other health problems, so safety is paramount here. According to the Environmental Protection Agency (EPA), if the moldy area is less than 10 square feet, you can likely handle it yourself.
- Gear Up: Put on an N95 respirator mask, safety goggles, and rubber gloves.
- Ventilate: Open a nearby window or door to get fresh air circulating, but avoid using a fan that could spread mold spores.
- Clean the Area: Lightly spray the moldy surface with a commercial mold and mildew cleaner or a solution of one part bleach to ten parts water. Do not oversaturate the wood.
- Wipe, Don't Scrub: Use a disposable microfiber cloth or rag to wipe the mold away. Start from the outside of the mold patch and work your way in to avoid spreading it.
- Dispose Properly: Seal the used cloth in a plastic bag and throw it away in an outdoor trash can immediately.
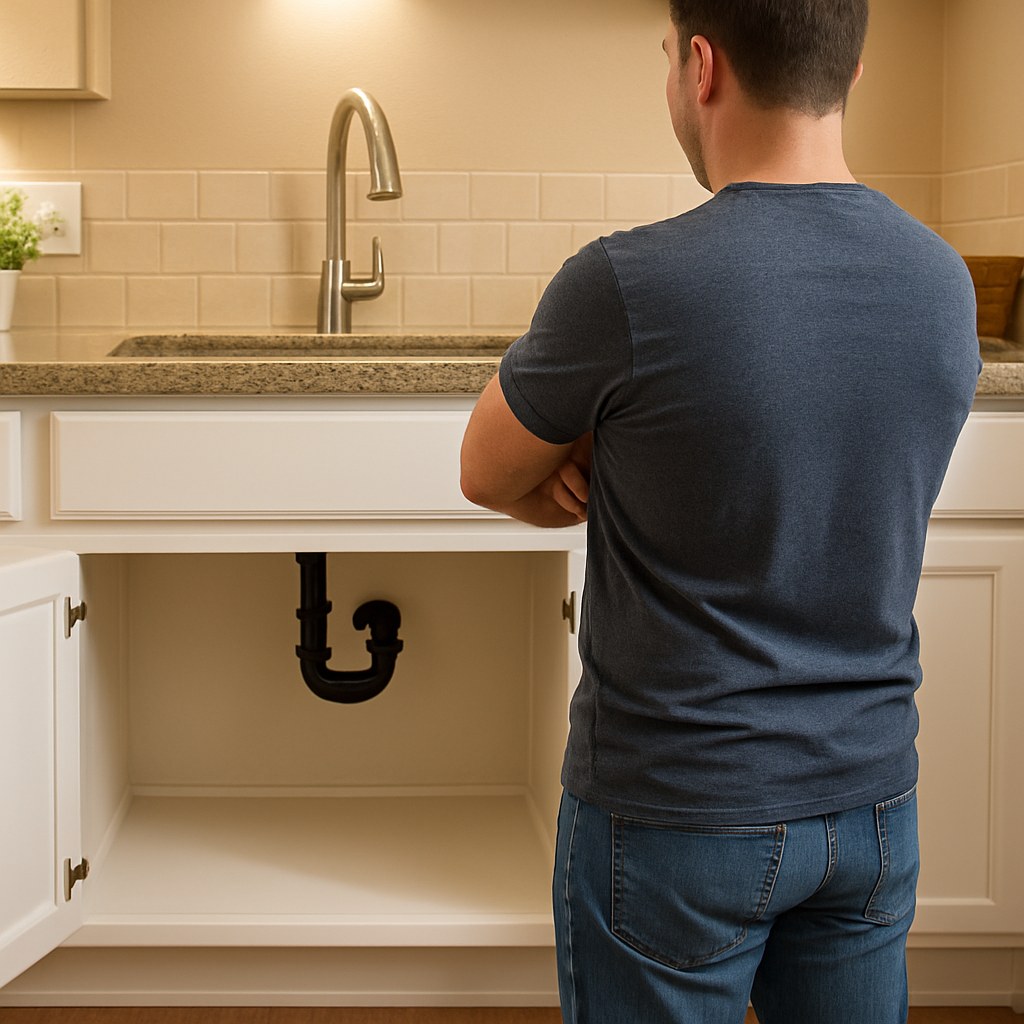
Step 4: Assess the Damage – Superficial vs. Structural
With the leak stopped and the area clean, it's time to determine how bad the damage is. This will decide whether you're looking at a simple cosmetic fix or a more involved structural repair.
- Superficial Damage: This is mostly cosmetic. It includes water stains, a slightly damaged finish, or minor discoloration on the surface of the wood. The cabinet's structure is still solid.
- Structural Damage: This is more serious. The wood itself is compromised—it feels soft or spongy, it has swelled up significantly, or the layers of particleboard are flaking and separating (this is called delamination). Screws for hinges or drawer slides may also feel loose because the wood can no longer hold them.
Press firmly on all the affected areas. If the wood feels solid, you're likely dealing with superficial damage. If it's soft, warped, or crumbling, you have a structural issue.
How to Repair Superficial Cabinet Damage
If the cabinet is structurally sound, congratulations! You have a relatively easy fix ahead. Your goal is to dry the wood and restore the finish.
- Dry the Wood Thoroughly: Use a hair dryer on a low, warm setting to gently dry the stained area. Keep it about six inches from the surface and move it continuously for about 10-15 minutes to avoid scorching the wood.
- Sand the Finish: Once completely dry, use fine-grit sandpaper (220-grit is a good choice) to lightly sand the damaged finish. Your goal is to smooth out any roughness and remove the stained layer.
- Clean the Dust: Wipe the sanded area with a clean, dry microfiber cloth to remove all dust.
- Refinish: This is the most important step for making it look new again. Use a matching cabinet touch-up marker for small spots. For larger areas, you may need to apply a thin coat of matching paint or stain. Apply it with a small artist's brush, following the direction of the wood grain.
- Let It Cure: Allow the new finish to dry completely according to the product's instructions before placing items back in the cabinet.
How to Repair Minor Structural Damage
If you've found small areas of swollen wood or soft spots, you may still be able to perform a DIY repair. This method works best for minor issues.
- Dry It Out Completely: This is non-negotiable. Place a dehumidifier or a fan next to the open cabinet and let it run for at least 48 hours. The wood must be bone-dry before you can repair it.
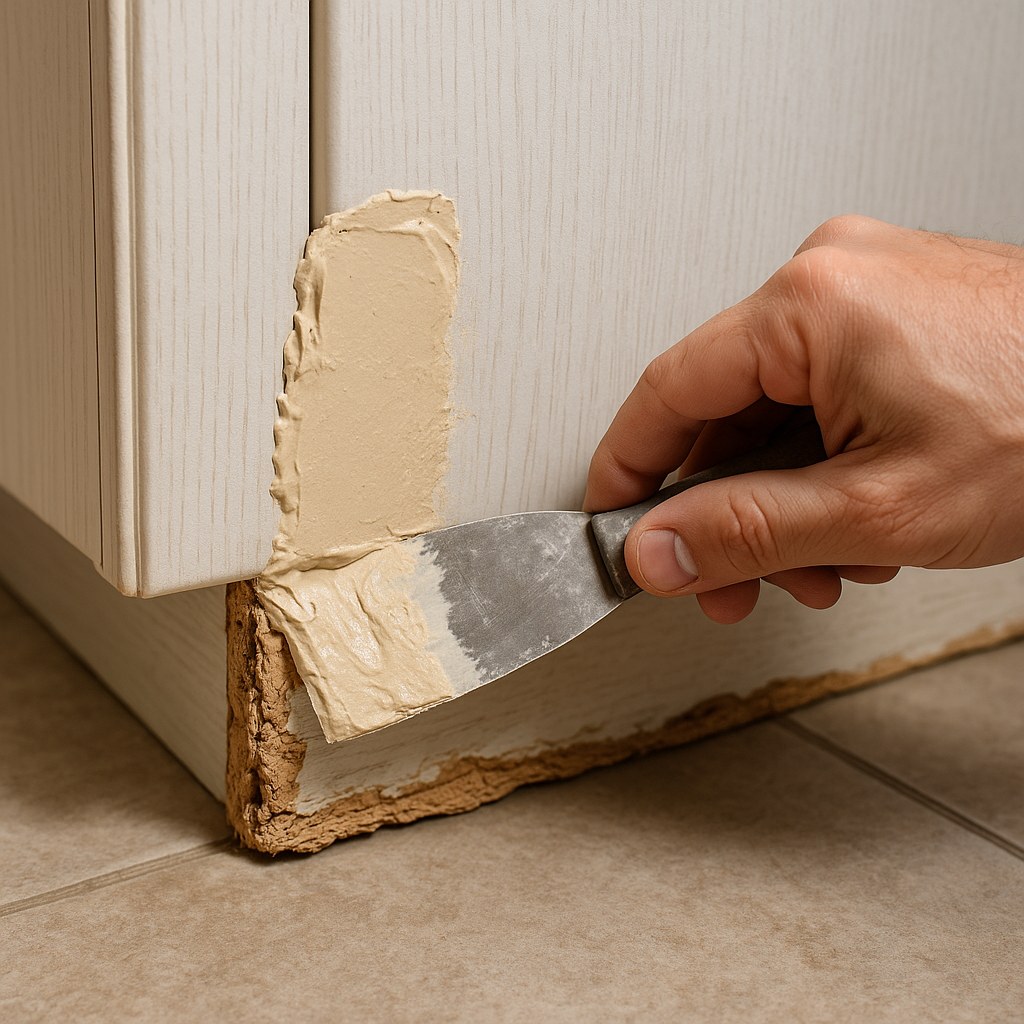
- Remove Loose Material: Use a utility knife or scraper to carefully remove any peeling laminate, veneer, or crumbling particleboard flakes.
- Apply Wood Filler or Hardener: For soft spots, you can use a wood hardener product to stabilize the wood fibers. For depressions or missing chunks, use a high-quality, water-resistant wood filler. Apply it with a putty knife, pressing it firmly into the damaged area and slightly overfilling it.
- Sand it Smooth: Once the filler has fully cured (check the instructions), sand it down with medium-grit sandpaper, followed by fine-grit sandpaper, until it is perfectly smooth and flush with the surrounding surface.
- Prime and Paint: Prime the repaired area and then paint or stain it to match the rest of your cabinet.
When Is It Time to Call a Professional?
DIY is great, but it's crucial to know your limits. You should call a professional contractor or cabinet specialist if:
- The water damage is extensive (e.g., affecting multiple cabinets).
- The wood is severely warped, rotted, or has more than an inch of swelling.
- The cabinet's structural integrity is compromised (e.g., it's pulling away from the wall or hinge screws won't hold).
- You find a large amount of mold (more than 10 square feet).
- You can't find or stop the source of the leak.
Hiring a professional for cabinet repair can cost anywhere from $150 to over $600, depending on the extent of the damage. While it's an investment, it's far cheaper than a full cabinet replacement, which can run into the thousands.
Final Thoughts and Your Next Step
Fixing a water-damaged cabinet is a manageable project that protects your home and saves you money. By acting quickly to stop the leak, dry the area, and make careful repairs, you can prevent a minor issue from becoming a major disaster.
For every home maintenance challenge, from simple fixes like this to complex projects, having a reliable partner makes all the difference. That's why we created the Casa app. It’s packed with easy-to-follow DIY guides, maintenance reminders, and connects you with a network of trusted, vetted professionals for those jobs that are best left to the experts.
Download the Casa app today and take the stress out of homeownership. Your home is your greatest asset—let us help you take care of it.

